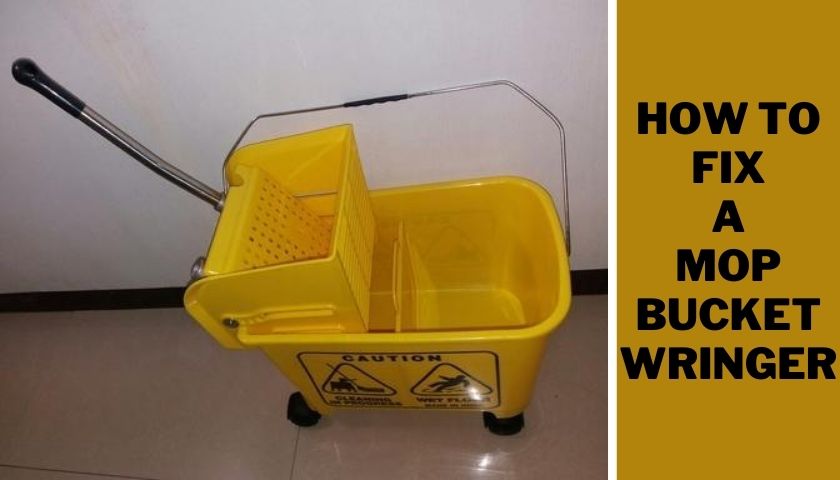
How to Fix a Mop Bucket Wringer | A Complete Solutions
Cleaning is what everyone has to do in their day-to-day life, but it’s not a simple task to do. Picking a suitable mop bucket can do your work easily. A mop bucket with a wringer does more than you can imagine.
It can wipe up your everyday messes perfectly, whether it is your office or house or any place you choose. But what if you face issues in your mop bucket wringer? How’d you go through this problem?
Our today’s guide will cover different solutions for different problems to that concern. Without any more flaps, let’s get in.
So, what is a wringer?
Safety is our top priority in every case, isn’t it? And that is what a wringer does—pulling off the excess water from the mop and then mopping enhances a safer and friendlier environment for your people, guests, and employees.
The wringer on the mop bucket provides easy access to remove excess water from the damp mop, and that protects floors from getting over slippery and saturated.
Nowadays, plastic wringers are famous in the market because of their excellent look and friendly price. In contrast, metal wringers are costly with durable construction but prone to decay if it is not washed and dried entirely.
Contents
How to fix a mop bucket wringer | 2 Ways
A bucket mop is our daily driver while cleaning the house or office. But issues are always around us, even with the mop bucket wringer. Let’s check out the problems and solutions.
1. Wringer rivets
In a word, rivets are short or medium-sized bolts or metal pins used to hold two or more metal plates together in a place. In the case of wringers, a problem can happen with rivets that deteriorate and eventually fail, which are planted for holding stamp plates.
Stamp plates may vary from wringers to wringers, but we can see two or three stamp plates holding together by rivets on average.
In that case, you can use a twisted wire to hold the stamp plates – a practical and home-made shortcut solution for you. Otherwise, you can look for mixed and matched screws and nuts to join the stamp plates. You can perform these two fixing solutions with your bare hands and a wrench.
These are quite an easy solution if you are looking to fix the mop bucket wringer rivets by yourself.
2. Wringer spring
The second problem we are looking at in the mop bucket is the wringer spring. Wringer spring is another weak component of the wringer. It can face corrosion and get roasted if you do not take care properly.
Moreover, the wringer spring weighs the highest pressure of the wringer, so it is pretty vulnerable. Naturally, spring failure occurs when it can’t take enough load and breaks apart.
You can buy a new spring for $10-$15 in the store in addition to the solution. Now, after buying, how do you fix it?
Items you need
- A new wringer spring
- A channel lock
What you have to do
- First off, you have to get the wringer out of the mop bucket. Everything becomes effortless when you separate the wringer.
- Then check out how the old spring is positioned. Basically, the tiny part of spring stays with the handlebar, and the longer part goes down behind the bucket.
- Now, to replace the new spring, you’ve to move the whole bar to the left, so you can pull out the old spring.
- To move the bar to the left, you have to lower the handle, or else the bar won’t move. And for that, you have to take out the tiny bar that joined with the stamp plates.
- Now, the channel lock comes in the act. You just get a good grip on the tiny bar and pry until it crawls out.
- When the tiny bar crawls out, you can lower the handle easily. That’s when you can move the handlebar to the left.
- Now, as you can see, no more obstacle; just slide the bar to the left and lift it up and slide off the old spring.
- You won’t need any tools for this hassle. As soon as you get the old piece out, put the new one in place in the right orientation.
- There you go. Go in a reverse setting to set all things back in position, and you’ll get going the new wringer.
You might feel like all these steps a big-hassle, but that’s not the catch. You’ll need around just 5-10 minutes to do this fixing. Easy-peasy!
Frequently Asked Questions (FAQ)
How do you use a mop bucket wringer?
Well, that’s easy. Dip your mop inside the mop bucket and then soak it up with the cleaning liquid. Next, put your mop head inside the wringer, pull down the handle, and keep it steady for three seconds. Take out the mop head, and you’re ready to mop the floor.
How do you wring a mop without a wringer?
You have to use your hands to carry out this job. Hold the mop with one hand place on the center and another hand on the upper part of the handle. Now spin the mop to drip off the water. You may need to wring the mop about twice or three times during floor cleaning.
How does the spin mop work?
The spin mop works with the help of a handle. You can pull down the handle, and the spin mop will spin-in 360 degrees. The faster you pull down the handle, the faster the mop’s head will spin.
Can you mop with just water?
It will vary from floors to floors, such as hardwood floor requires less hot water; unsealed wood floor doesn’t require any mopping, just sweeping; and laminate floors need hot water with a floor cleaner, nothing else.
How many times a week should you mop?
If your home is vested with people’s high traffic, you should mop one time a week. Otherwise, you can mop in two weeks or a month – it should be enough – if you have fewer people in your home.
Wrapping up
To conclude, cleaning is our main priority as we don’t love messes, and mop bucket and wringer come into action. However, we can finally say that fixing a mop bucket wringer isn’t a hassle of work. You can do it in a few steps (discussed above) at your home. Just make sure to stay calm and follow proper steps while you’re fixing it, or else you’ll end up messing it to the worst.
Happy fixing!


![How to Attach a Swiffer Wet Pad? [Learn to Do It Correctly]](https://mopsreview.com/wp-content/uploads/thumbs_dir/How-to-Attach-Swiffer-Wet-Pad-20ohih1eaj9c1n0speeheg51u8ulaobz5p513g7q9y90.jpg)


[…] you wring out your mop, you should squeeze out just enough water to make the cleaning solution come out […]